Pressure fermentation has recently taken off among homebrewers. Why has it become so popular, and how is it done in practice?
Breweries have been doing it for many years with professional equipment in larger volumes, but recently, pressure fermentation has become a huge hit among homebrewers. Much of the reason is the emergence of more affordable plastic alternatives that can ferment a volume more manageable for homebrewers. We're talking about the first version, the original Fermentasaurus produced by Keg King in Australia. This has since been upgraded and developed into today's Apollo Unitank and Apollo Snub Nose from the same manufacturer, which are the most reliable and safe PET plastic pressure tanks on the market. Apollo is manufactured and individually pressure-tested at Keg King in Australia, unlike its competitor, which is manufactured in China.
Advantages of pressure fermentation
- Higher temperatures: Pressure fermentation will significantly inhibit yeast ester production, and can even allow you to brew lagers and other bottom-fermented beer styles at higher temperatures than traditionally used. This makes it possible to succeed with a lager even if you don't have perfect control over fermentation temperature. For hop-rich beer styles, the aroma can also become more intense, as it is pressed into the beer instead of evaporating directly out of the airlock.
- Closed system: A pressure tank will be completely closed, and thus will not risk oxidizing your beer. Such a closed system also offers more possibilities for both closed transfer or serving directly from the tank.
- Carbonate and serve directly from the tank: A fermentation tank with pressure capabilities can effectively be used in the same way as a corny keg. In other words, you can carbonate your beer directly in the fermenter and serve it directly from there. If you combine this with, for example, a Beergun or Duofiller, the beer will be completely oxygen-free from the moment you pitch yeast until it comes out perfectly in a bottle or can.
Disadvantages of pressure fermentation
- Yeast can get stressed: Most commonly used yeast strains do perfectly fine with some pressure, but some varieties can be a bit tricky. In the worst case, the yeast may stall during fermentation and not attenuate as much as you initially expected. Also, remember that some beer styles actually SHOULD have a significant ester flavor from the yeast, which pressure fermentation could, in the worst case, reduce so much that the beer becomes too clean-tasting.
- Price and equipment: Although there are excellent stainless steel pressure fermentation tanks, such as the Brewtools F-series or Unitank from Ss Brewtech, plastic pressure tanks like Apollo and Fermenter King have become a big hit among budget-conscious homebrewers. It's also possible to use a regular corny keg, but some extra equipment is always needed, such as a spunding valve (adjustable pressure relief valve) and a CO2 cylinder. See more under "necessary equipment."
Necessary equipment for pressure fermentation
The fermentation tank
First and foremost, you need a fermentation tank designed to withstand pressure. There are several variants available depending on your needs and desires, and not least, your budget.
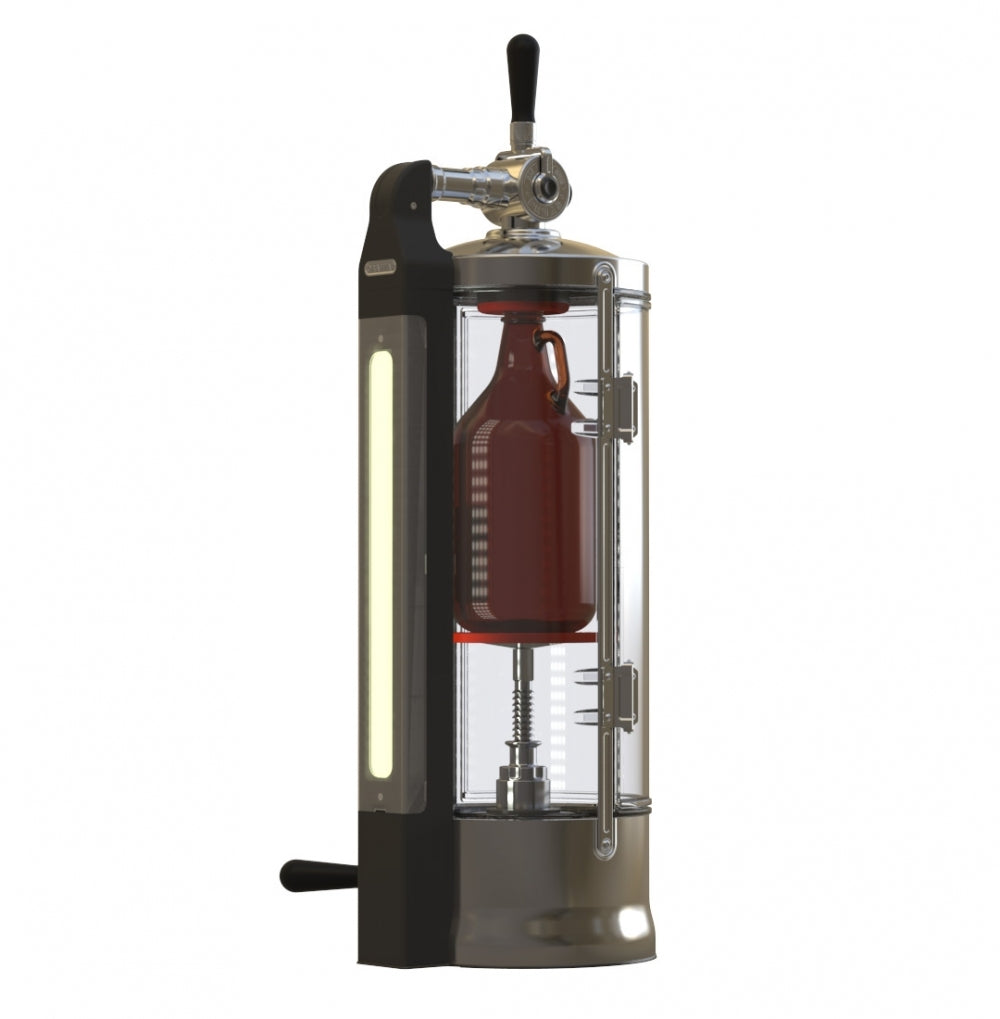
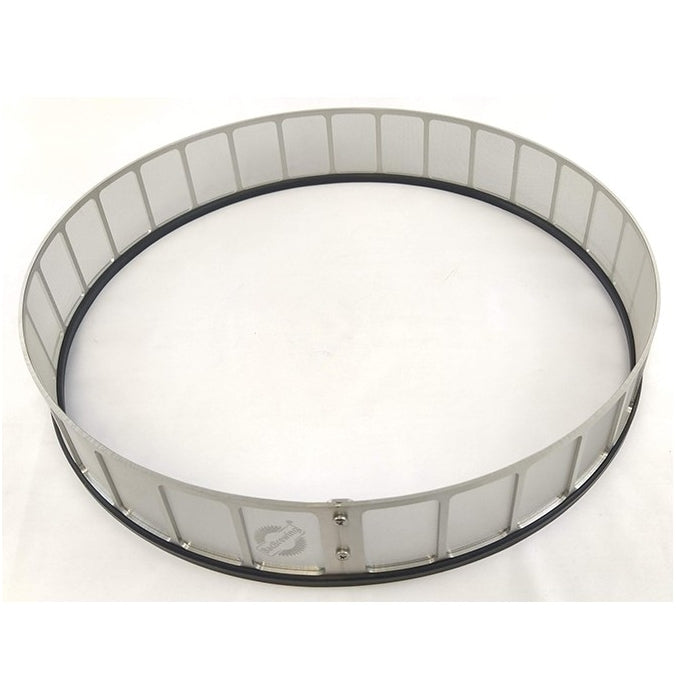
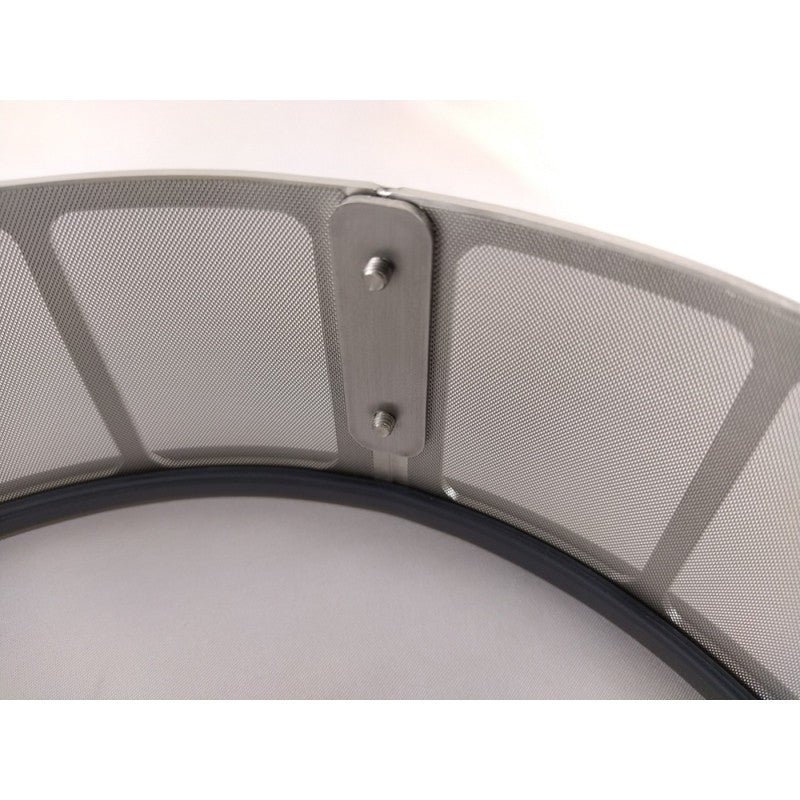
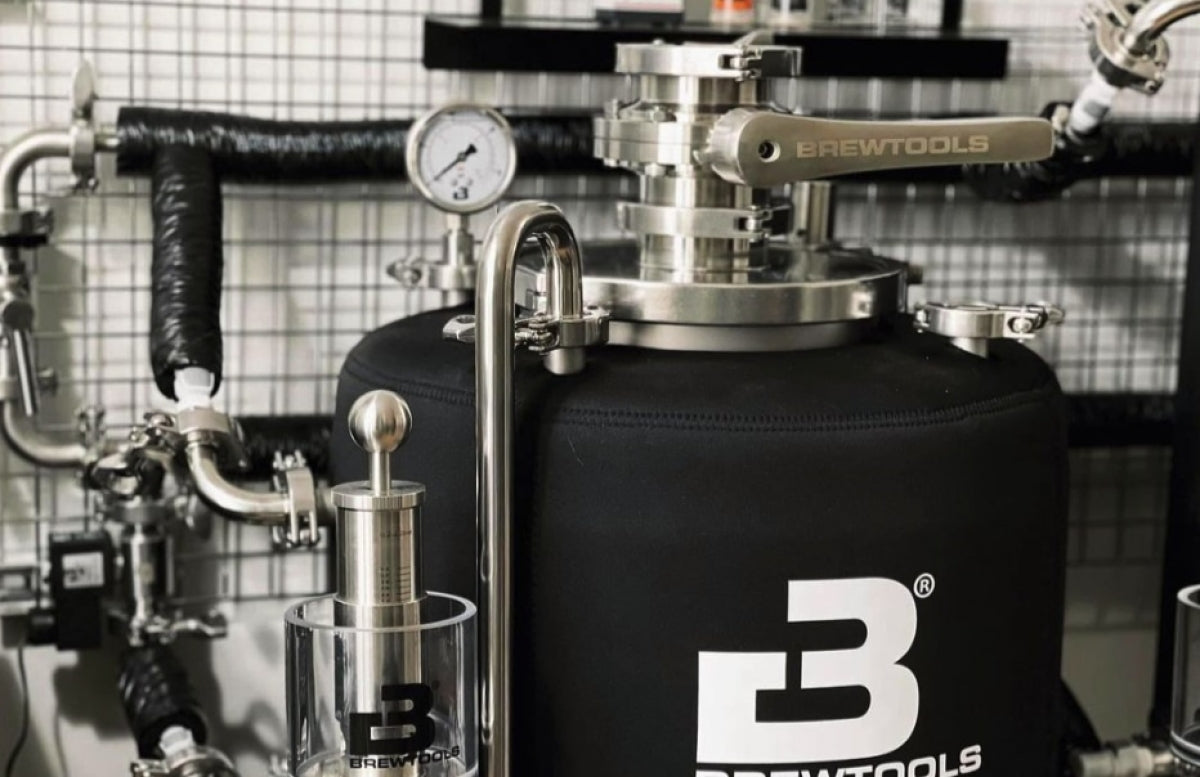
The F-series from Brewtools, such as the F80 Unitank in the picture, is among the most advanced on the market today, with flexible solutions, and features and accessories that make the fermentation process a dream.

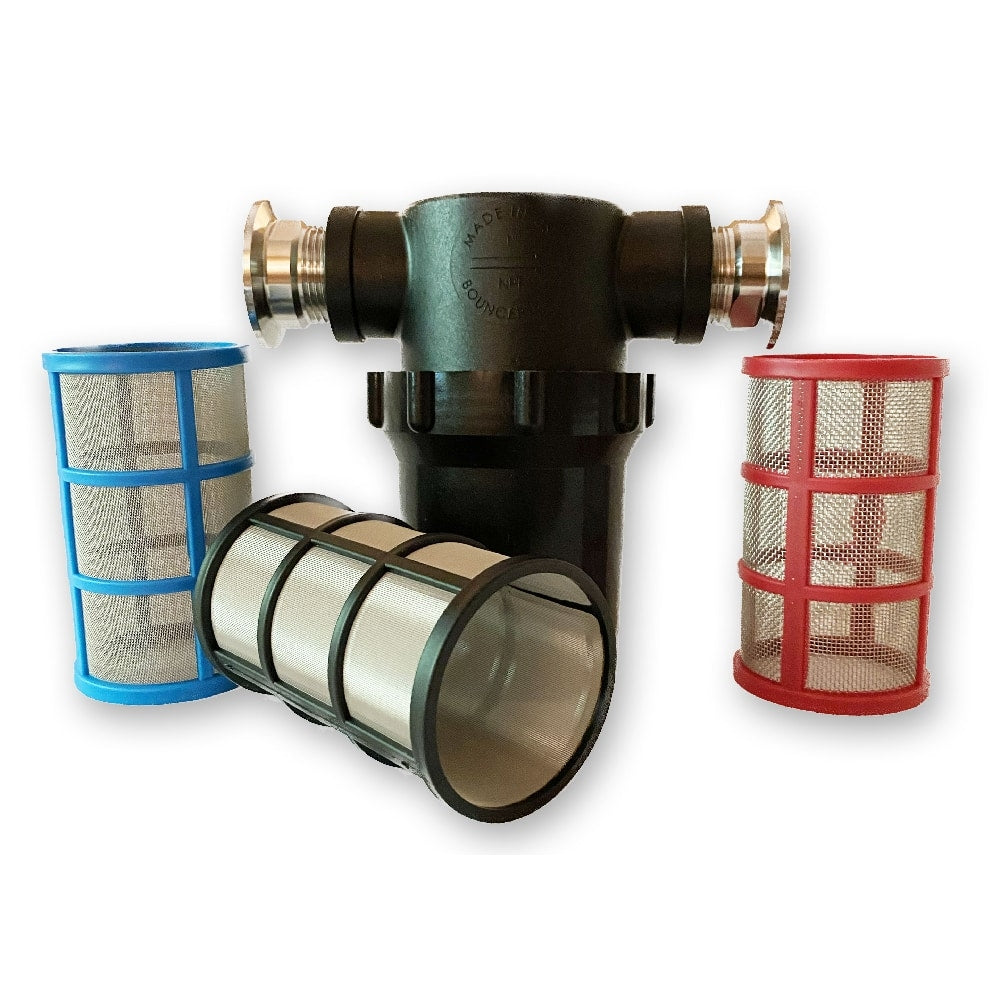
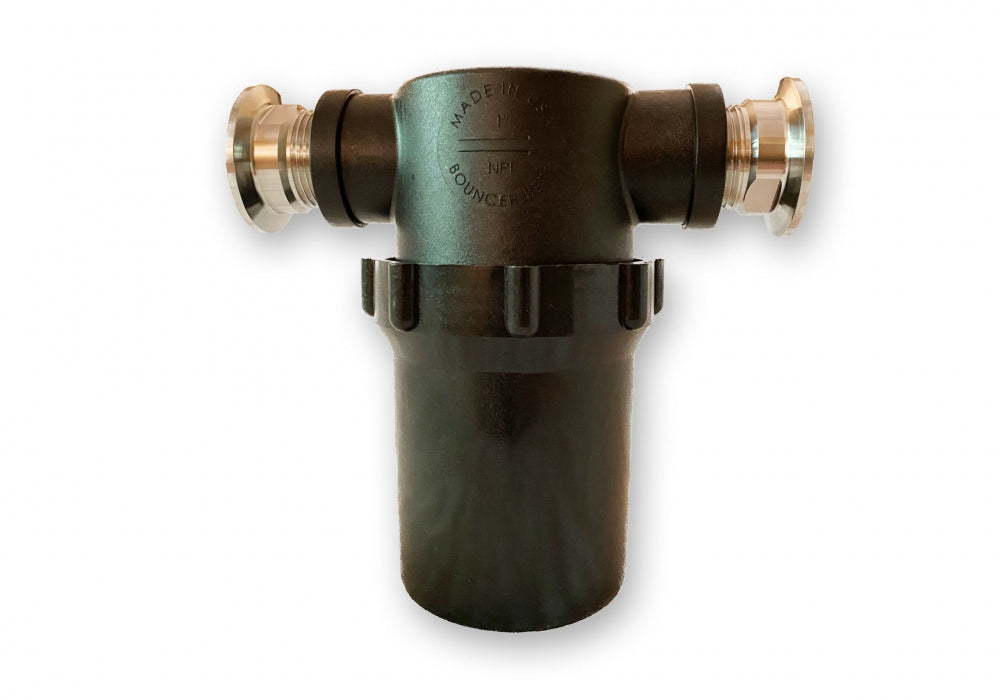
Apollo Snub Nose and Unitank from Keg King are developments of the original Fermentasaurus plastic pressure tank, and are affordable, yet safe options for getting started with pressure fermentation.

Cornelius kegs can also be used for smaller batches. However, keep in mind that there will be a significant amount of trub during fermentation, so it might be advantageous to cut the dip tube or use a floating dip tube that draws beer from the top of the keg when serving. Our 23L Cornelius keg is best suited, considering you also need some headspace.
CO2 cylinder and hoses
To fully utilize a pressure tank, a CO2 cylinder will make your day much easier. In addition, you will of course need a CO2 regulator and the necessary hoses to get the gas into the fermentation tank, but also to get the finished beer out of the tank.
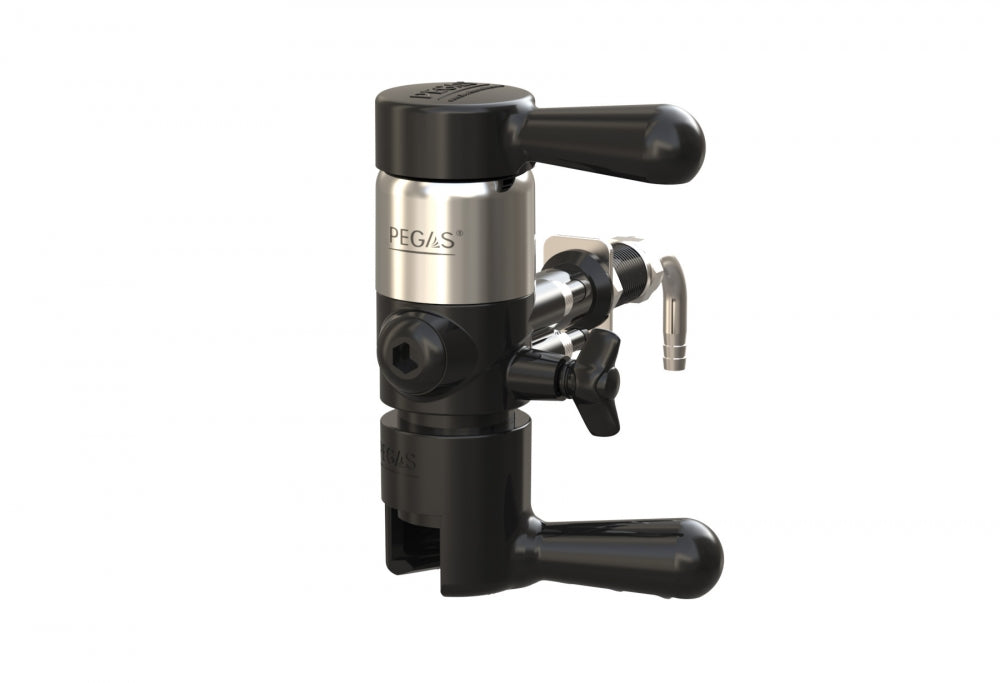
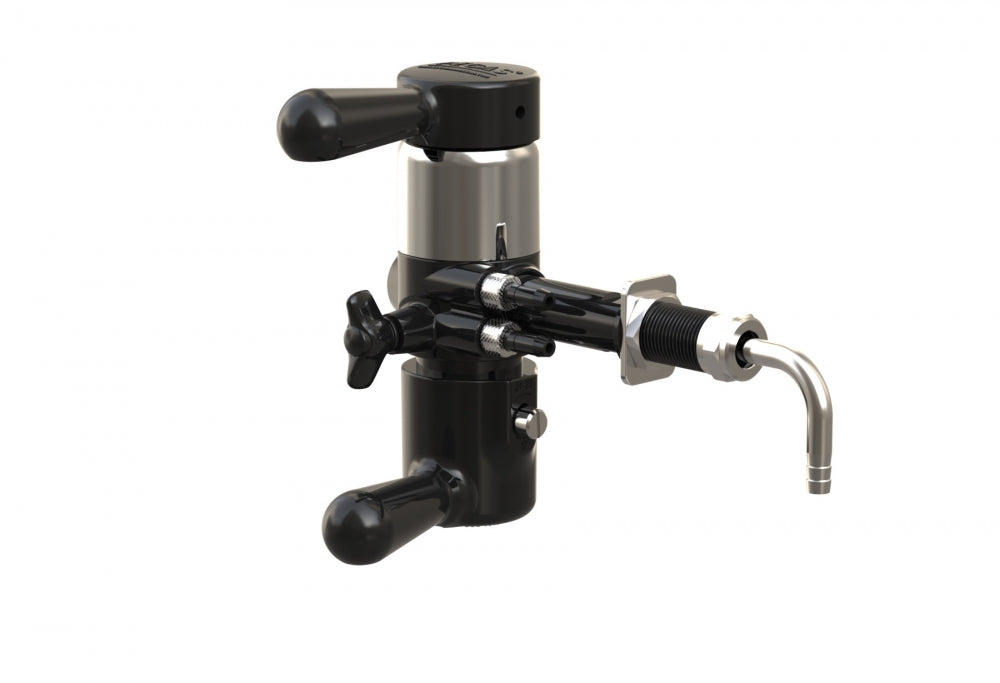
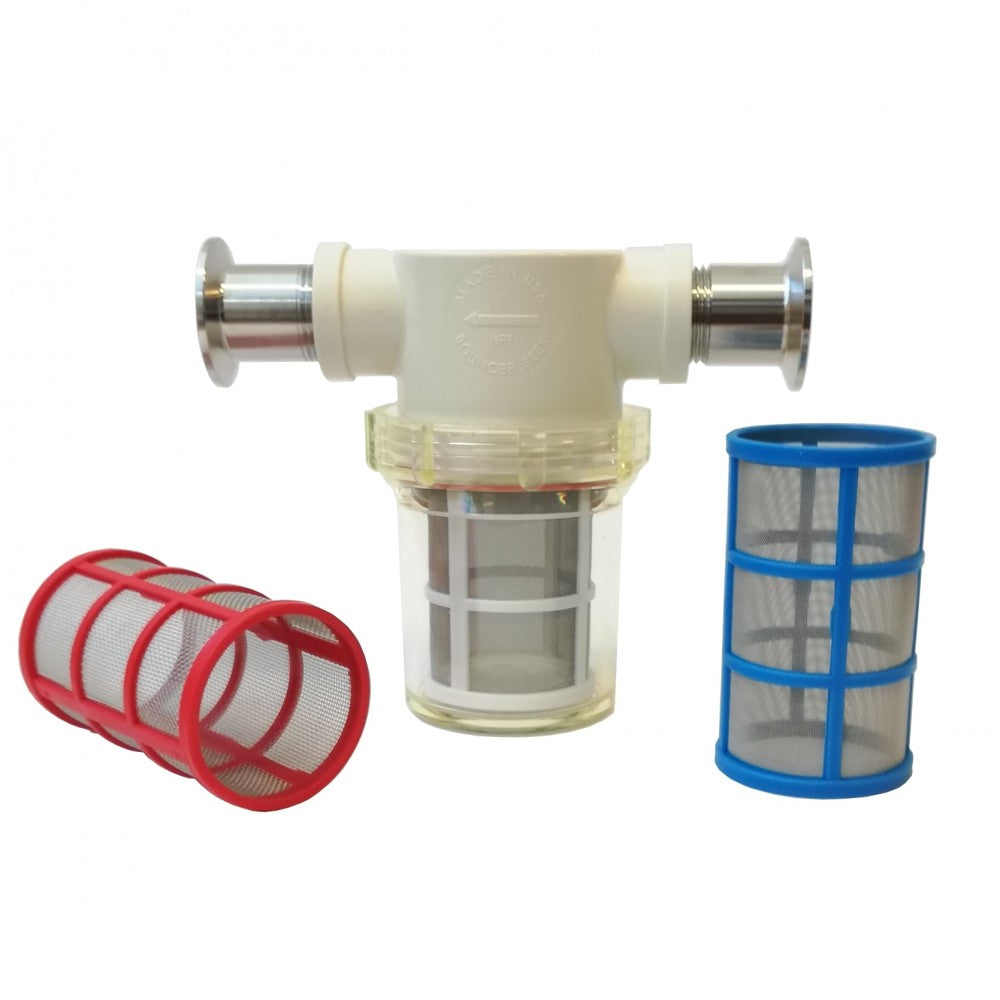
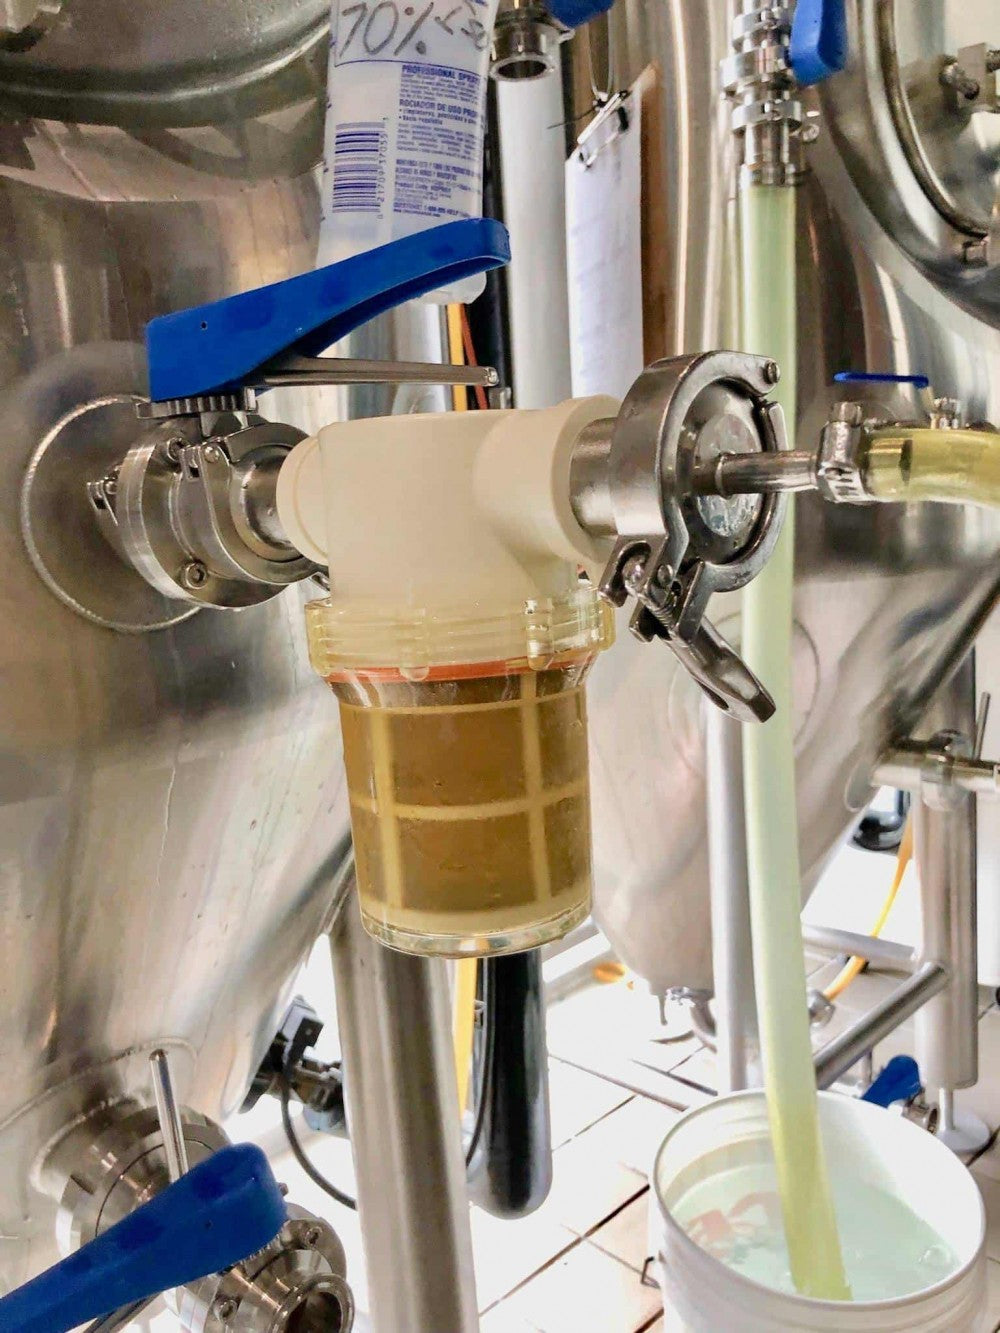
Spunding valve
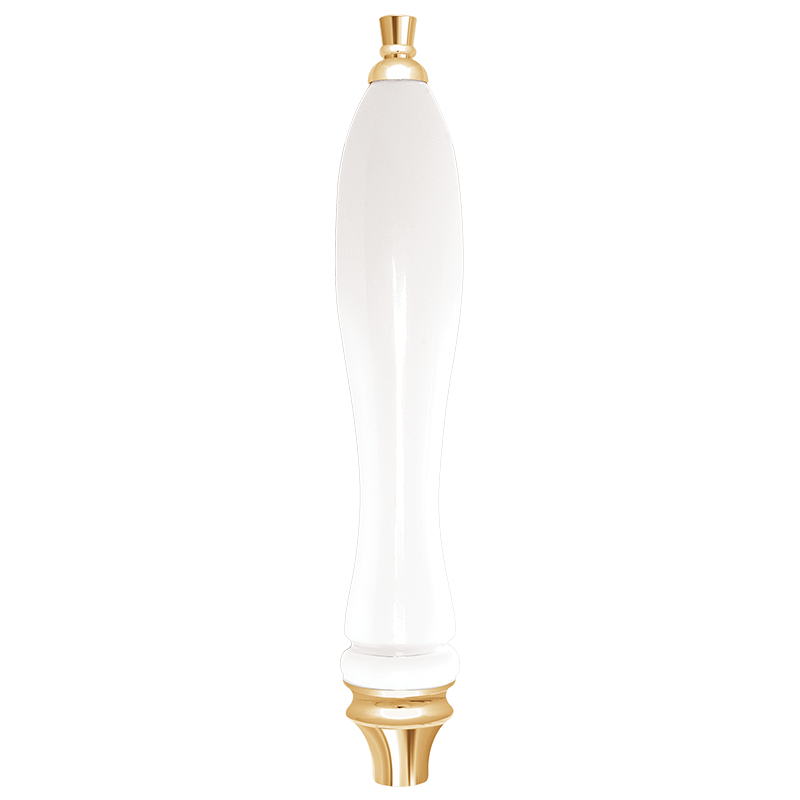
Yeast produces a lot of CO2, and even if you are fermenting under pressure, it is important to control how much pressure is in the tank. For this, it is smart to have a spunding valve that you can precisely regulate how much pressure is in the fermenter, and how much excess should be released. Here, for example, the original and affordable Spundy would be an excellent solution, or Homebrewer Lab's SPUNDit 3.0 which can control the pressure for up to two tanks simultaneously. If you don't need fine-tuning, PRVs (safety valves) that release at different pressures will also be a simple solution. With the Apollo Snub Nose, three different variants of this are included.

The fermentation process
The process itself is quite simple and straightforward. Fill the fermentation tank with wort as usual and add the yeast. For the first couple of days, it is recommended to ferment without pressure, to get the yeast well started before tightening the spunding valve. This way, you also blow out much of the oxygen remaining in the tank before the pressure kicks in. Then, just let the yeast do the rest of the job. It really is that simple!
Since pressure fermentation reduces off-flavors and esters, you will be able to have it ready to drink in a very short time. If the pressure is set correctly, all you have to do now is chill and serve fully carbonated beer directly from the fermentation tank! There is no definitive answer as to how long it will take, so taste after about a week and see if it's getting close. Of course, the beer style you are brewing, the yeast you have used, as well as the fermentation temperature and the pressure you have used will all play a role. Remember that pressure fermentation will reduce off-flavors, but it is not a magic solution for all off-flavors.
What pressure should I ferment at?
The pressure varies according to personal preferences, beer style, and yeast choice. The pressure you choose can either highlight or suppress different flavors in the finished beer. 0.7-1 bar is common, but there is no definitive answer to this. Also, remember that the pressure will ultimately affect the carbonation of your beer.
John Blichmann and Chris White have conducted tests specifically on this with a lager, and the results show significant differences. In short: At 1 bar of pressure, they significantly reduced esters and diacetyl levels. At more than 1 bar, it was further suppressed, but here the malt character was also drastically reduced, and the bitterness became more prominent. Feel free to read the entire article and delve deeper.
Dry hopping under pressure fermentation
If you plan to dry hop under pressure, it's important to consider how to do it in practice. If hops are to be added under pressure, a "hop dropper" or similar tool should be used as an intermediate station for transfer. Closed dry hopping under pressure is particularly relevant when dry hopping heavily hopped beers, such as NEIPA, which due to the amount of hops involves a greater risk of oxidation.
If you release the pressure before dry hopping and do it the "old-fashioned way," you must be aware of oxygen sneaking into the fermenter, and also that the carbonation in the beer can react with the hops and create a foamy geyser effect. After any dry hopping where the pressure has been released, it is also important to apply pressure from a CO2 cylinder. This is crucial to prevent a lot of krausen from building up, which in the worst case can block the safety valve and spunding valve. After it is pressurized, you can also pull the safety valve to replace oxygen in the tank with CO2.
Be a little careful!
When working with pressure, there are a lot of forces at play, and it's important to have some respect for this. Be especially careful to set the spunding valve correctly, and make sure the safety valve is not stuck. If the tank is shaken with wort, in the worst case, the wort could stiffen in the valve, causing it to get stuck.
Also, be a little careful if using plastic tanks. We recommend the original tanks from Keg King, manufactured and individually tested in Australia. Acid-based cleaning agents/sanitizers should be rinsed out after use, as they can weaken plastic tanks and safety valves over time. Do not clean plastic tanks with hot water!
Make sure to have enough headspace when pressure fermenting. Contrary to what many say about needing less headspace when fermenting under pressure, 15%-20% headspace is recommended. This is important to ensure that krausen does not build up and clog the safety valve and spunding valve.
Thanks to Masteringhomebrew for sharing the cover image for the article. Get inspiration on Instagram.