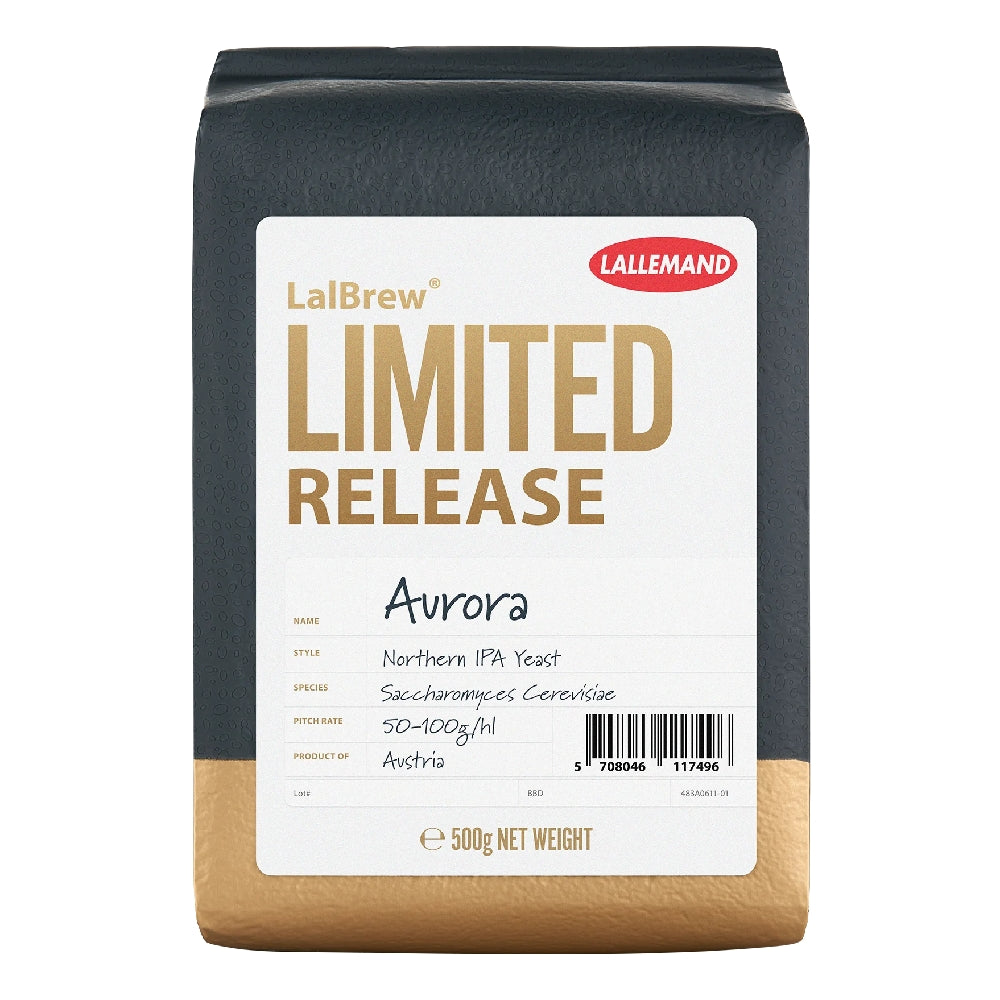
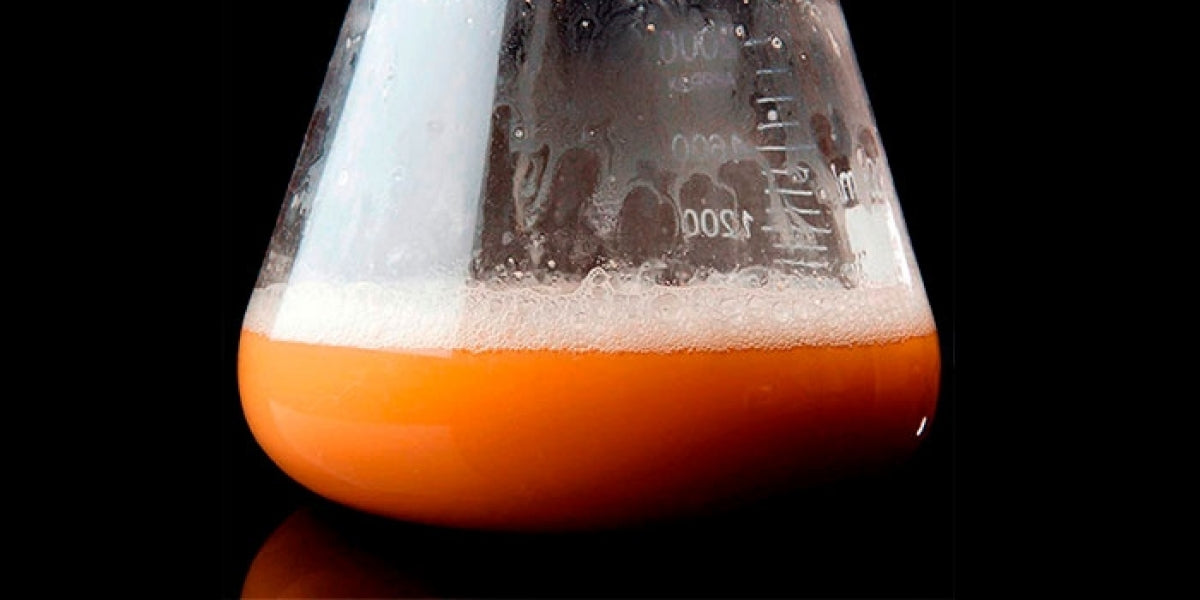
Although the quality of dry yeast has improved massively in recent years, fresh yeast is still far ahead when it comes to choice. It is also worth remembering that yeast is a living organism, and that its natural form is liquid.
Dry yeast, on the other hand, is dehydrated, so it should be rehydrated before use. This has been tested and is somewhat debated, but in principle we largely agree that dry yeast benefits from rehydration. It helps fermentation get going faster and ensures there is enough yeast.
Why make a yeast starter?
The advantage of dry yeast is that it is relatively inexpensive, has a long shelf life and is easy to use. On the other hand, you have to use several packs to be sure you have enough yeast.
With fresh yeast you will often need to make a yeast starter. This is to make sure you have enough yeast cells for optimal fermentation. Fresh yeast has to be stored cold, which sends the yeast into dormancy. Over time, more and more of the yeast cells die naturally. If the yeast has been stored too warm, for example during transport, they can die even faster. That is why we make a yeast starter: both to wake the yeast from dormancy and to make sure there is enough yeast for a trouble-free fermentation.
If there is too little yeast, you may get off-flavours in the finished beer, or it may not ferment all the way down to the expected FG. In the worst case, some yeast strains can stall completely because they are not happy. Other advantages of a yeast starter are that you can make a bigger starter than you need and save some yeast for next time. Making a yeast starter is also cheaper than buying several packs of fresh yeast, although that is also an option.
What do I need to make a yeast starter?
The principle of a yeast starter is simple. To get the yeast going, we essentially make a small wort so the yeast gets nutrients and wakes up from dormancy. It then starts to multiply so that there is enough yeast. A stir plate mixes in plenty of oxygen along the way and keeps the yeast in suspension.
Here is a simple list of the basic equipment you need. We also have this available as a yeast starter kit with the following contents:
-
Stir plate: For homebrewers, a stir plate that can handle up to 5 litres will last a long time.
If you brew large batches at a time, or make a lot of strong beer that needs plenty of yeast, it may be wise to invest in something bigger. - Stir bar: Which type to use depends on how big a starter you make. As a homebrewer with relatively small batches, the smallest stir bars will usually do, such as 40x8mm.
- Erlenmeyer flask: The size depends on how big a starter you need. If you mostly brew small batches, 2 to 3 litres will usually be enough. If you are planning bigger or stronger brews, or brew a lot with lager yeast, it may be wise to invest in a 5L flask straight away. It is also worth keeping in mind that the flask needs some headspace, as it can be hard to mix in enough oxygen with the stir plate if it is too full. If you are making a 2 litre yeast starter, for example, a 2 litre flask will be too small.
- Dry malt extract (DME/Dry Malt Extract) to make wort: The colour matters little, since most of it will be poured off after the yeast has done its job. Choose the lightest type to be safe. You can also use liquid malt extract, but the dry version is easier to handle, weigh out and store if there is some left over.
- Cotton stopper: This goes in the top of the Erlenmeyer flask. Cotton is a breathable material, which means it lets oxygen in but still keeps flies, bacteria, wild yeast and other unwanted organisms out of the flask.
- Yeast nutrient: Yeast waking from dormancy needs sugar to multiply. To optimise the growth phase, it helps to add yeast nutrient.
- Antifoam: If your flask is very full, or you have a particularly active yeast, it can easily climb over the rim of the flask and onto your worktop. If you boil the starter in the flask, antifoam also reduces the risk of boil-overs.
How to make a yeast starter
- Sanitise the cotton stopper beforehand. The easiest way is to wrap it in aluminium foil and put it in the oven at 150 degrees for about 15 minutes. If you boil the starter in a pot instead of directly in the flask, the flask must be sanitised with, for example, Star San.
- Measure out the right amount of water, either in a pot or directly in the Erlenmeyer flask you will use for the starter. Bring it to the boil. It is a good idea to put the stir bar in as well, so the boil sanitises it at the same time.
- When the water boils, add the right amount of dry malt extract and yeast nutrient. As a rule of thumb we use 100g of dry malt extract per litre of water. This gives a starter with an OG of about 1.040, which is perfect for getting the yeast going.
- Stir well to avoid lumps or scorching on the bottom. Let it boil for 5–10 minutes.
- After boiling, the starter must be cooled to below 25 degrees. This can be done in a water bath or ice bath.
- Sanitise the yeast pouch with Star San or similar. The same goes for the scissors or knife you use to open the pouch.
- When the starter is cool enough, you can pour in the yeast.
- Fit the sanitised cotton stopper and place the flask on the stir plate. It does not need to spin fast, just enough that you see a “dimple” (vortex) on top of the starter.
- Leave it at room temperature with the stir plate running. How long it should run varies with the yeast: how old the yeast is and how big the starter is. It takes at least 12 hours, but often longer if the yeast is old. Most healthy yeast starters are done when the starter has turned milky white, and you can see the yeast flocculate (settle at the bottom of the flask) if you stop the stir plate for a few minutes.
- Put the flask in the fridge. It should stay there for at least a day before use, so the yeast can separate from the rest of the liquid and settle at the bottom of the flask.
- Once the yeast has separated, you can pour the liquid off the flask. Avoid shaking the flask and pour very carefully. The liquid is heavily oxidised beer that adds nothing to your beer, so you want to get rid of it but keep the yeast. When what you pour off starts to turn cloudy: stop. Depending on how big a starter you made, a few decilitres of liquid should remain in the flask along with the yeast. This is now your finished, built-up and healthy yeast, ready to be added to your next brew. Feel free to taste the liquid you pour off. It gives you an idea of the flavours the yeast will add to your next brew, and you can also tell whether any infection or anything else you do not want in your beer has crept in.
- It can be a good idea to take the flask of finished yeast out of the fridge and let it slowly warm to room temperature before use. This lets the yeast “wake up” before it has to do its job, and avoids too big a temperature difference between the fridge and your wort.
If you want to skip boiling wort for the yeast starter, there is a ready-made solution. Propper Starter is pre-boiled starter wort that only needs to be mixed with water. This can be a good alternative if you do not brew large amounts or brew particularly often. In terms of cost, a homemade yeast starter is the better option.
Quick / simplified yeast starter (Viability starter)
Sometimes you do not have time to make a yeast starter, or you forget the whole thing until it is too late. There are also many who simply do not trust a starter that has to sit in the fridge before decanting. Chilling before decanting means the cells go dormant again. That makes it hard to know how much live yeast you have when pitching, even if the yeast is brought up to temperature before it is added. Fortunately, there is a quick method that can solve this for you.
In short: You make a yeast starter the same way as described above, but instead of letting it ferment out completely, you add the whole starter at the right moment.
In detail: Dormant yeast needs time to get going, known as the “lag phase”. This lag phase is what we want to shorten with a yeast starter. With a regular yeast starter we get the yeast going and let it do the job of eating all the sugar in the wort. With the quick method this process is not fully completed. The principle is that the yeast is pitched while it is at its most active, which is 6–8 hours after the yeast starter was started. In other words, you can make the yeast starter and have it ready to use as soon as brew day is over.
This is not an ideal replacement for a classic yeast starter, where we build up and increase the number of yeast cells, since the yeast has not necessarily multiplied enough. It is still a better solution than pitching too little yeast that is also dormant, since the yeast you add is already at its most active and will start eating your wort as soon as it goes in. You also do not need to oxygenate the wort with this method, as the starter is packed with oxygen when you pitch.
- The method is almost the same. You need about 1 litre of starter to get the yeast going.
- The starter should have an OG a few points higher than you expect in the wort after brewing.
- As a starting point, 100g of dry malt extract in 1 litre of water gives an OG of about 1.040.
- After 6–8 hours, you can add the whole starter to your finished wort, liquid included.
- Since the OG of the starter and the wort are roughly the same, it will not water down the wort. Still, bear in mind that this method increases the final volume of beer in the fermenter.
- The colour of the dry malt extract can also matter here, especially if you brew small batches. So avoid dark dry malt extract if you are brewing a pale beer.

Storing yeast
If you need to make several starters, do not get round to brewing, or make a bigger starter than you need, you can save some of the yeast for next time. For this we recommend a sanitised borosilicate bottle. It can be kept in the fridge until you need it. Be aware that the yeast can keep working in there, so loosen the lid now and then to make sure too much pressure does not build up in the bottle. If the yeast is used within a short time, it can be used straight from the bottle. If it has been stored for a longer period, it is better to make a new starter with it.
How big a starter do I need?
It is hard to give a definitive answer to this, as the amount of yeast you need depends on several factors.
- How old is the yeast?
- How has the yeast been stored?
Fresh yeast dies off over time, so the older the pack of yeast, the fewer live cells you have left that can multiply. If the yeast pack has been kept warm, the yeast cells can die even faster.
- How much beer are you brewing?
- How strong will the beer be?
The more beer you brew, the more yeast you need. The same applies to the strength of the beer, as wort with a higher OG needs more live yeast cells for a healthy fermentation.
- Which yeast type are you using?
There is a big difference between ale and lager yeast here. Lager yeast usually needs close to twice as many yeast cells as ale to ferment cleanly.
We recommend a calculator
The best way to work out how big a yeast starter you need is to use a calculator designed specifically for this. You can find one on the White Labs website or at Brewers Friend. Most recipe-building programs also have a version of this calculator built in.
We can also recommend the Brewfather app, where you can calculate this by entering how old the yeast is. The app then uses your recipe to work out exactly how big a starter you need.