We are often contacted by customers who have experienced poor yield and wonder why. Let's take a look at what can affect this and how we can optimize efficiency.
When we talk about efficiency and yield in connection with brewing beer, we are either talking about mash efficiency or brewhouse efficiency. In this article, we will focus on mash efficiency.
If you are unsure what these terms mean, we have created a separate article that we recommend starting with: "Mash Efficiency vs. Brewhouse Efficiency".
Why do I have low yield (low OG)?
For the average homebrewer, it's usually mash efficiency that causes problems, i.e., how close they get to the OG (original gravity). You shouldn't worry too much about mash efficiency if you're a couple of points below or above the expected OG. However, if there are larger deviations, there are several factors you can look into to get a better yield.
You might not find the exact solution to your problem, but by going through the typical causes of poor yield, you have a good starting point for troubleshooting.
Malt and milling
Sometimes, the brew shop's standard malt milling may not be optimal for the equipment you are brewing on. The degree of milling you need depends on the equipment you have. For example, if you brew with the BIAB method, you'll generally want finer crushed malt, while a brewing machine from Speidel benefits from significantly coarser malt.
In a perfectly milled batch, approximately 20% of the grains should appear to have an intact husk, even if it's cracked/opened. When you squeeze the malt that looks unmilled, you will hopefully notice that the husk opens easily.
This is what a perfect batch should look like:
- 10-20% "flour"
- 30% fine grain
- 30-40% coarse grain
- 20% grain with partially intact husk
To have full control over the milling, we highly recommend investing in your own malt mill. This way, there will be no variation in the milling degree since you can adjust the mill yourself. You will get the malt milled exactly as you want it, and you are guaranteed fresh, freshly milled malt on brew day itself.
In our category Malt mills, you will find both manual malt mills where you can attach a drill or crank yourself, and fully electric ones like this malt mill from Grainfather.
Mashing in
Mashing in is when the malt is stirred with the water, and good routines here can affect your yield. The key here is to take your time.
If you add all the malt at once, you risk parts of the malt not coming into proper contact with the water. This forms clumps of dry malt (flour clumps), and malt that does not come into contact with water will have no effect. In addition, it can lead to "tunnels" in the malt during sparging, so you don't extract all the sugar.
We recommend adding a little malt at a time, and stirring well between each addition. Feel free to use the mash paddle to cut through the mash bed as well, which will further reduce the chance of clumps.
The mashing process
Again, the keyword is time. Even if the recipe states that it should be mashed for 60 minutes, there's no problem letting it sit significantly longer than that. This ensures that all conversion processes are complete, especially if you're brewing with a lot of malt. Some brewers even mash in the evening and let it sit until the next morning before boiling.
Generally, you shouldn't stir vigorously during the mashing process after mashing in, but some brewing machines, especially those with tall and narrow mash tubes, can benefit from a couple of gentle stirs along the way to avoid "tunnels." This is especially true if you weren't careful enough during mashing in.
Mash out
Towards the end of mashing, it can also be a good idea to perform a mash out. Mash out means increasing the temperature of the mash to the same temperature as the sparge water.
This process stops the enzymes that convert starch to sugar, "locking" your sugar profile. The temperature also makes the sugars you want to include in the wort more fluid, making them easier to extract.
Malt quantity
Most brewing machines specify a maximum amount of malt. While it is possible to fill it with the stated amount, or perhaps even more, it is not always a good idea. Due to the large amount of malt, it will become very compact, and you risk poor circulation during mashing and/or that you don't sparge properly after mashing.
Some brewing machines have tall and narrow malt pipes, and these will quickly become too full for a good yield. If you are brewing a strong beer, it might be a good idea to double mash (divide the malt into two and mash in two batches), reduce the amount of malt and add spray malt, or brew a smaller amount at a time.
Water quantity
If you mash in with too little water, you can quickly run into problems with yield. Even if the recipe specifies a water quantity, you shouldn't always follow it slavishly. Instead, use a little more mash water and reduce the amount of sparge water.
As long as you have the correct volume before boiling, there is no absolute rule for how much water should go into the mash or sparge. The mash should have roughly the same consistency as slightly thin oatmeal.
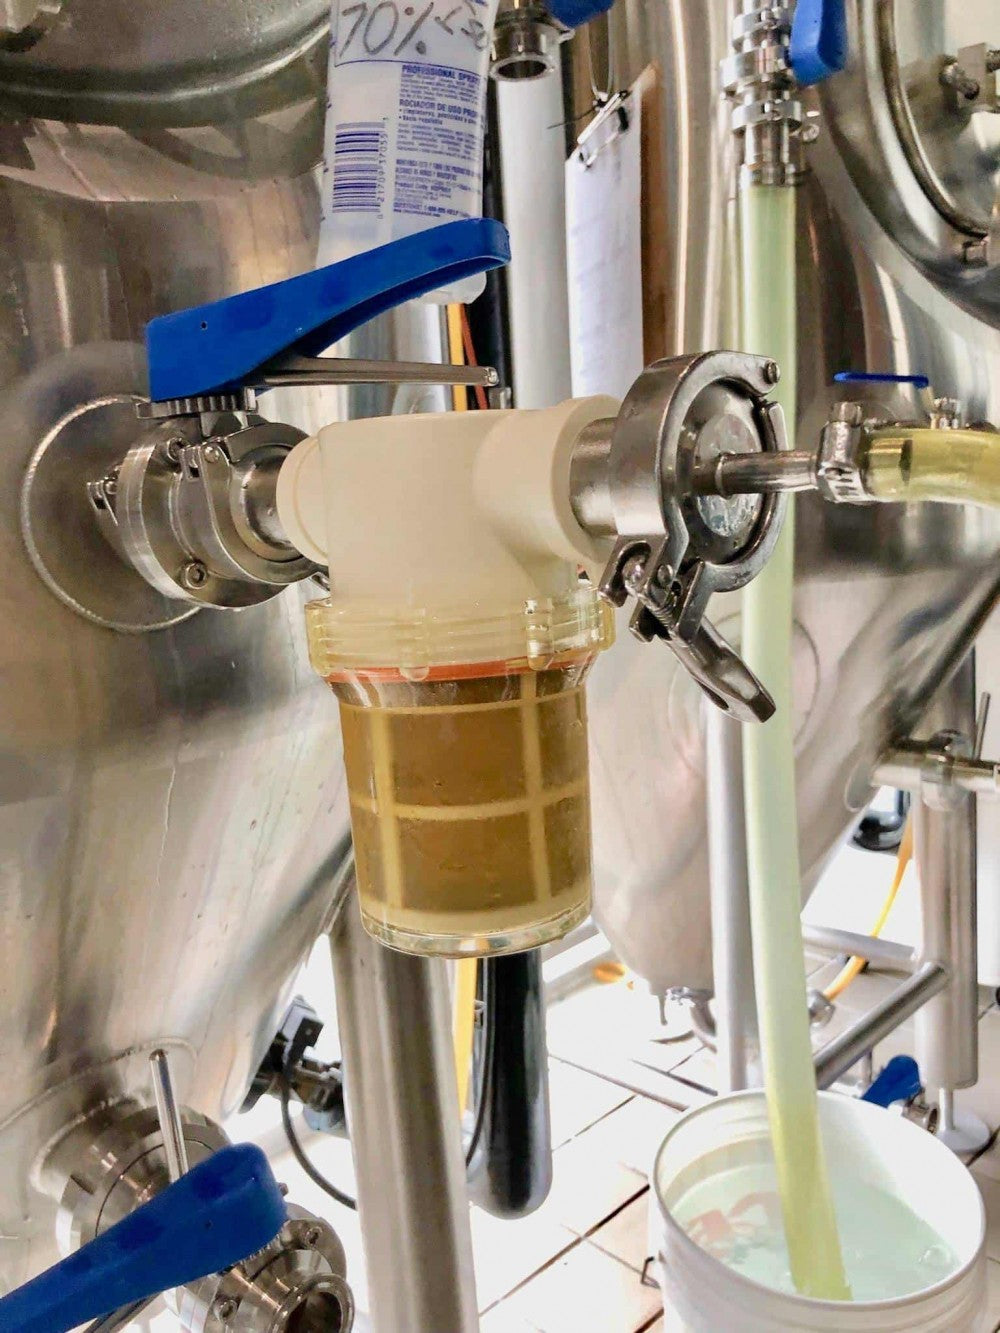
Sparging
This is often where many lose a lot of efficiency. As we have already mentioned several times, the key is time. What many do wrong is to lift the mash pipe and quickly sparge through immediately. The problem this causes is that the water will not carry all the sugar you want to take to the boil, because the sparge water flows through too quickly.
This is how we recommend you perform sparging:
- Lift the malt pipe and let it drain thoroughly and for a long time. Preferably until it has almost stopped dripping. This helps any tunnels in the mash bed collapse, and you avoid the sparge water being "sucked" through them without carrying the sugar.
- Sparge with hot water (75-78 degrees Celsius), and a little at a time. Feel free to use a measuring cup or similar to distribute the water evenly over the mash bed. There should not be more than a maximum of a couple of cm of water over the malt. Take your time, and let the sparge water run through thoroughly before adding more.
- Repeat until all the sparge water has been used up, and let it stand undisturbed until it has almost stopped dripping. Do not squeeze the malt unnecessarily, as you can easily get tannins (harsh off-flavors) into the wort. The same off-flavors will occur if you sparge with water that is too hot.
pH and water chemistry
Generally, this is not where a novice homebrewer should start troubleshooting, but it's worth keeping in mind. The pH of the mash can affect enzymes that convert starch to sugar. If you delve a little into simple water adjustment, this could be the key to extracting those last few missing points. You can read more about this in the article "Water adjustment when brewing beer"
Malt can vary
Grain is a natural material that will never be completely identical every time, even though it should ideally be. Even the largest malt producers will never be able to avoid changes in starch content from batch to batch.
You must also bear in mind that all figures given in pre-programmed recipes (when brewing with Brewfather or similar) are not necessarily entirely correct or up-to-date. It is possible to find the figures from the manufacturer and calculate specific numbers, but here we are really talking about splitting hairs, which will not be the biggest contributor to the correct yield.
How to fix poor yield
Have you brewed, and the "damage" has already been done? There are still a couple of things you can do to rectify the problem right away.
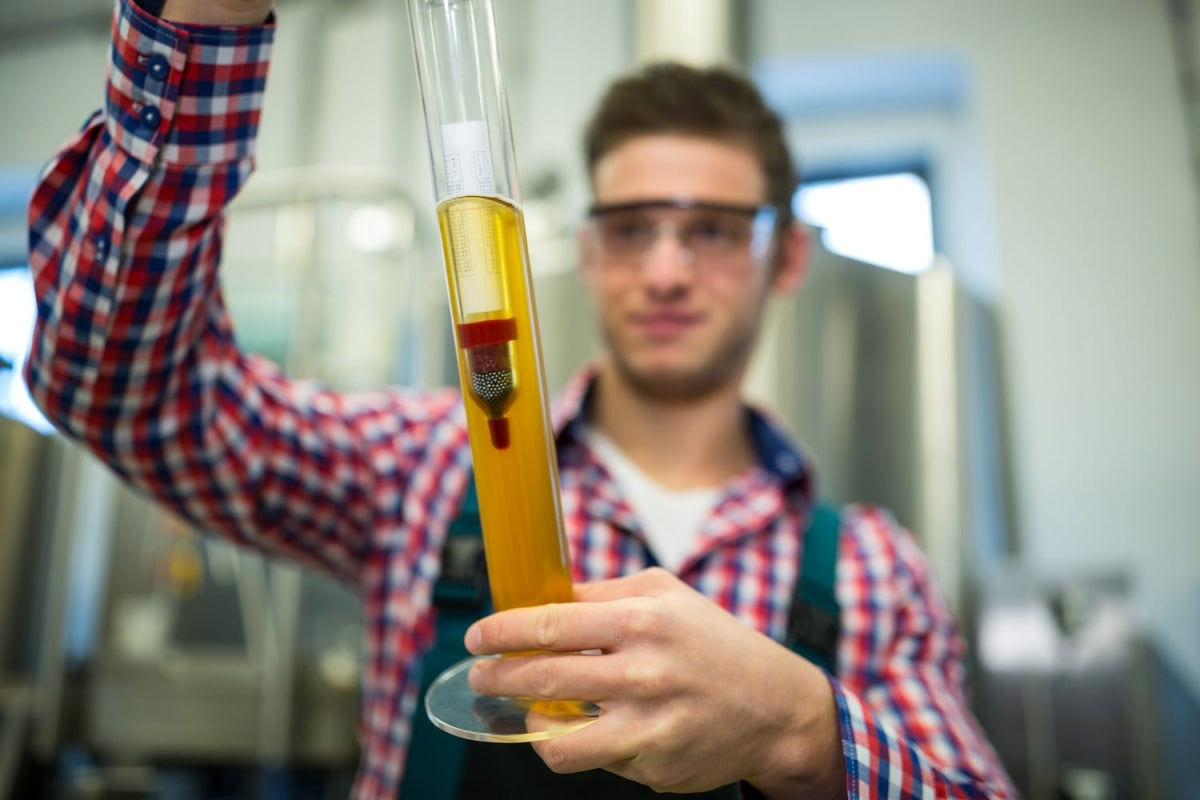
The best time to check this is after sparging, and before boiling. Stir the wort well before taking a measurement, so that any sugar that may have settled at the bottom mixes well with the rest. Take a sample, and take a measurement with a hydrometer, refractometer or similar. This number is called pre-boil gravity or SG (specific gravity). The recommended temperature for reading a correct value with a standard hydrometer is 20°C, and 10-30°C for a refractometer with ATC (temperature correction).

If it's a couple of points below the expected pre-boil, it's nothing to worry about, but if we're talking about larger deviations, there are some quick fixes we can resort to.
Dry malt extract and liquid malt extract
It's always a good idea to have a bag or two of dry malt extract (DME) or liquid malt extract (LME) on hand. Should you unfortunately get a poor yield, you can add a little of this to hit the right numbers.
Dry malt extract and liquid malt extract should be boiled for 10-15 minutes to properly dissolve and sanitize. Therefore, it is wise to figure this out before you start boiling by measuring SG/pre-boil gravity.
How much you should add varies with the amount of wort and how much you've missed by. You can calculate this in, for example, Brewfather's Gravity Correction or with a calculator like this one from Brewers Friend.
Extend boil time
If you don't have either liquid malt extract or dry malt extract on hand, it's still possible to make adjustments. This is also a good method if it's only a few points below the expected SG. Here, it's simply a matter of extending the boil time. This means you boil the wort for a period before starting the regular boil time. This reduces the water and concentrates your wort.
This means that the brewhouse efficiency is somewhat reduced, but you hit your actual OG better. The choice is up to you: Do you want the planned amount, but a weaker beer? Or do you want a smaller amount of beer with the correct alcohol content?
It's also worth considering that less wort will also affect bitterness. If you choose to reduce the amount of wort, it might be a good idea to reduce the amount of bittering hops to balance your brew. It can also be wise to wait with other hop additions before starting the actual brewing time.
How much you might need to boil off can be found in the same calculators from Brewfather and Brewers Friend. These calculators can also be used if you experience too high an OG and need to dilute your wort to the correct volume.